Send newsletter images inline: Is it the best approach?

Capture readers’ interest as soon as they open your newsletters by using images, photos and graphics as eye-catchers in your emails! But what is the best way to include images in newsletters? You can either use what are known as “referenced images” or insert the images directly into the email, which means sending them “inline”. Both options have advantages and disadvantages, so which is the better solution?
1. Why images make your newsletter more successful
Have you already persuaded your recipients to open your email with a compelling newsletter subject line? Perfect! Now you need to impress them at first glance with a modern newsletter design and motivate them to explore the content further. The best way to achieve this is with an appealing header image that captures your subscribers’ attention. Ideally, the header image sums up or alludes to the content of that particular newsletter in some way. This introduces your prospective customers to the topic as soon as they open the email.
Images do not only help to make your newsletter more appealing to readers in the email header. Graphics, photos and images in the main section, such as those showing the products or events being promoted, will also leave your newsletter fans wanting more! Do you run an online fashion shop? Add images of the promoted items to your emails so readers can immediately see how each garment looks when worn and which other accessories can be combined with it for a stylish outfit. This makes more recipients likely to click the item and take a closer look at it in your online shop. If, on the other hand, you want to invite people to an event in your newsletter, images from the previous year can show how successful and exciting it was. In turn, this will encourage plenty of interested people to register this year too!
Adding images and photos significantly increases the likelihood that your newsletter recipients will click one of the links in the email. Your readers will not be the only ones pleased by the visual variety in your newsletter copy; as the sender, you will also appreciate the higher click rate! After all, when more readers click within your newsletter and reach your website, successful conversions become more likely. In other words, more prospective customers may buy something in your shop or register on your website. In short: Images in your campaigns help you achieve the objective you set for your newsletter campaign!
👀 Did you know?
The rapidmail image editor for newsletters lets you crop and rotate images directly in your campaign, enhance them with filters and add appealing text. Edit your images like a professional without an additional tool.
2. Referenced images vs inline images: What is the difference?
You have two different options for sending images by email: You can either send “referenced images”, which your subscribers need to load separately, or embed the images directly in your newsletter and send them “inline”. What is the difference between the two methods?
Referenced images in emails
Referenced images are not sent directly with your email, but are stored on a server. Depending on the email client your recipients use, it may only load all the included images after the email has been opened. This increases the email’s loading time, as well as the time it takes recipients to see your complete newsletter. It may prompt some impatient readers to close the email again immediately.
👀 Did you know?
If your newsletter images do not load correctly, the alt text (alternative text) is displayed. Make sure that you give your images a short description that tells recipients what they show. Alt text also makes your campaign appear considerably more trustworthy to email clients and reduces the risk of it being classified as spam.
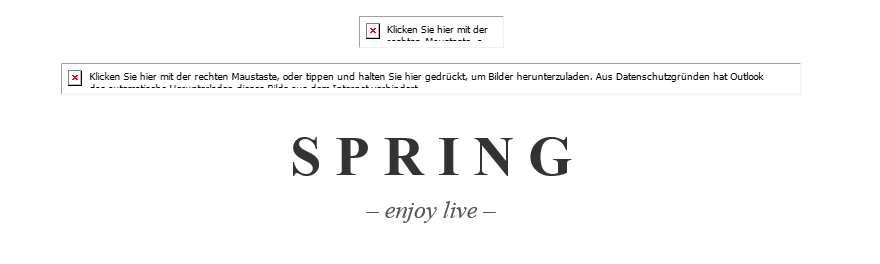
Storing images on a server presents another disadvantage: Common email clients and webmail services, such as Outlook or Thunderbird, do not display images automatically when the email is opened. Instead, they suppress images for security reasons because of concerns about harmful content. Recipients must first manually “allow” the images to be displayed before they are loaded and shown. This requires extra effort from recipients and may also have a negative impact on your newsletter’s read rate.
💡rapidtip
You should therefore never insert the call-to-action button into your newsletter as an image. Always use a dedicated button element instead. This ensures that all recipients can see and click the important linked button in the email, even if they do not load the images manually. With the rapidmail newsletter tool, you can simply select the button element in the left-hand sidebar of the newsletter editor and drag it to the desired position in your campaign.
Inline email images
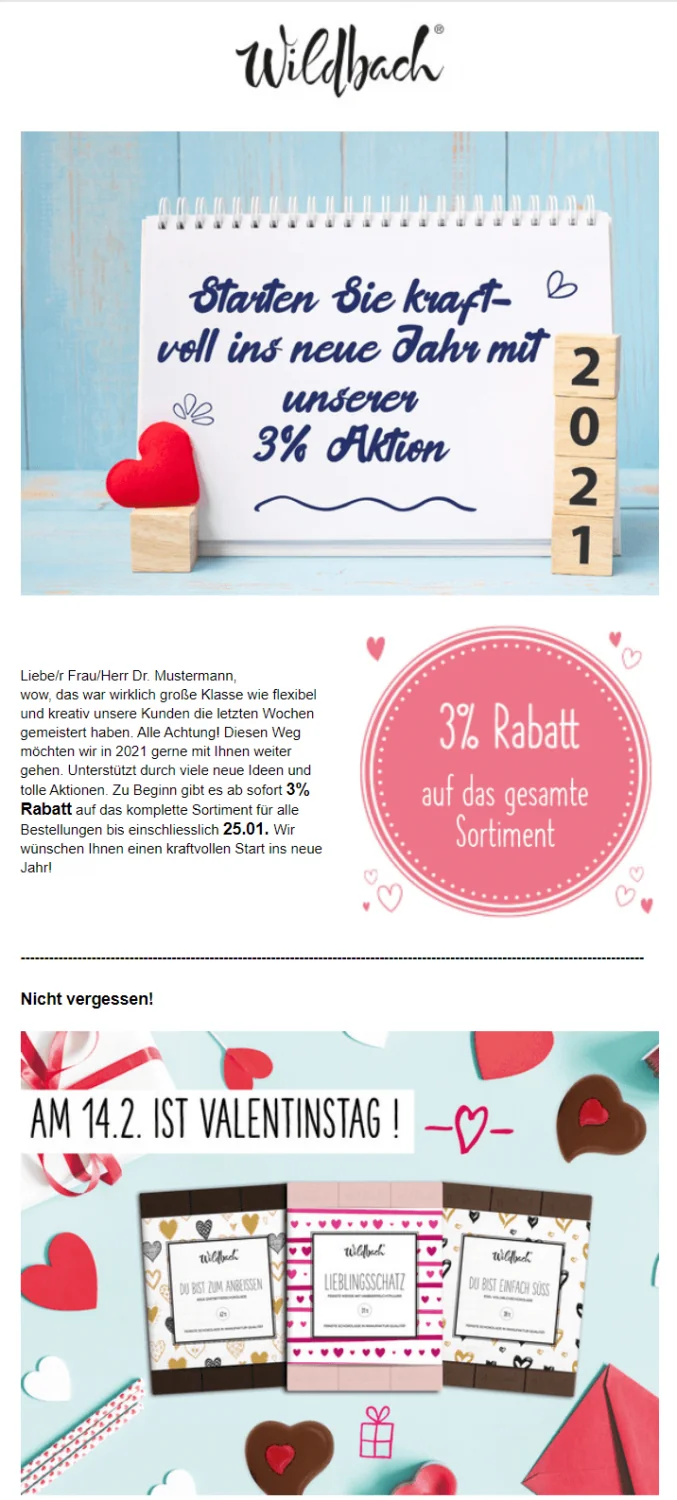
Embedded images (inline images) are compressed into the newsletter and sent with it. As a rule, recipients therefore do not need to load the images manually first to see them. The major advantage is that prospective customers see your complete newsletter in the intended design and with all its visual elements as soon as they open it. This naturally gives them much more reason to find out what your email is about! What is more, once the email has been opened, no internet connection is required when it is opened again, and the images will still be displayed correctly.
One disadvantage of embedded images is that the emails are slightly larger than when referenced images are used. Some recipient servers or providers only display emails in full up to a certain file size and truncate emails that are too large. For this reason, particularly in emails with inline images, make sure that the email file size does not become too large.
The rapidmail newsletter
Tips, ideas and news about email marketing, straight to your inbox.
3. When should I send newsletter images inline?
Both referenced images and sending email images inline have advantages and disadvantages. When deciding which approach is best for your newsletters, you should consider all the factors:
| Advantages | Disadvantages | |
| Referenced images | Smaller email file size; positive impact on deliverability and the email being displayed in full | Images are not loaded until the email is opened; longer loading time; recipients usually have to load images manually first; lower read rate |
| Embedded (inline) images | Images are displayed immediately; recipients do not need to load them separately; higher read rate | Larger email file size; negative impact on deliverability and the complete display of emails when image files are very large; the open rate shown in your newsletter statistics is less reliable because not every newsletter open is counted when images do not need to be loaded separately |
Conclusion
Your newsletter is much more appealing to subscribers when all images are displayed as soon as the email is opened. And, after all, your objective is for prospective customers to read the newsletter! We therefore recommend that you always embed your newsletter images (send them inline), provided you use only a few images with small file sizes. Reduce image sizes as much as possible before embedding them in the newsletter and be sure to check the email’s total size before sending it. If it is larger than 300 kB, we recommend sending the images as referenced images instead. In our view, the distortion of the open rate caused by sending inline images can be disregarded, as click rate, rather than open rate, is the crucial metric in newsletter reporting, and embedded images have no effect on it.
💡rapidtip
Whether you send newsletters with embedded or referenced images, do not overload your campaign with too many images and graphic elements. Maintain the ideal image-to-text ratio and use meaningful images that illustrate the context or show products. Too many images and graphics, on the other hand, unnecessarily increase the campaign’s size and can lead to lower deliverability rates.
4. How can I use rapidmail to send images in email newsletters?
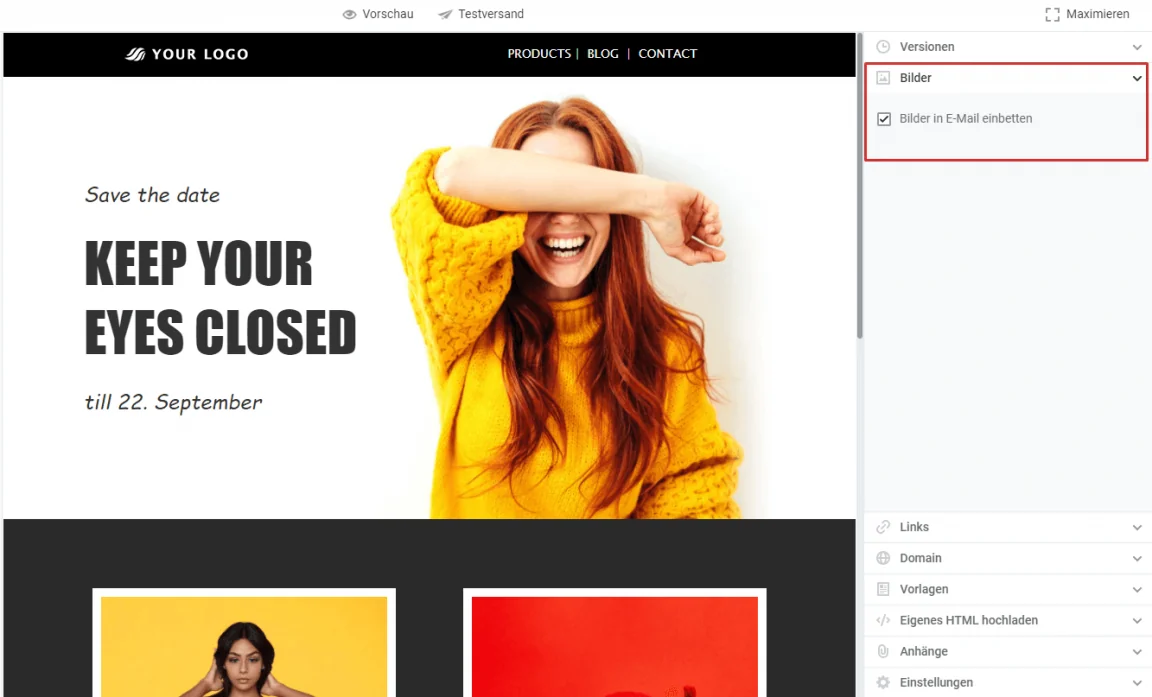
The rapidmail email marketing tool lets you decide whether to send images inline for each campaign. When creating your campaign, the editor’s right-hand sidebar contains the option to embed all images in your campaign. You can activate the feature with just one click and deactivate it again whenever necessary!